An In-Depth Look at How ISO Impacts Your Images

ISO is a term that every photographer, from amateur to pro, has heard of. Surprisingly, though, some photographers are still unfamiliar with all of the different ways that ISO affects their pictures.
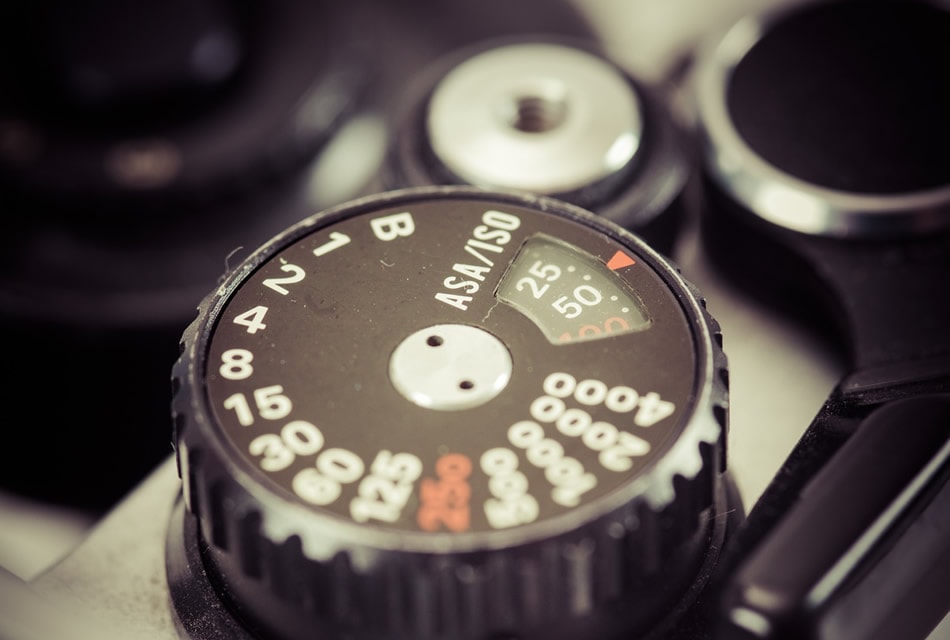
One of the three factors that affect your exposure (together with shutter speed and aperture), ISO is something that has to be mastered if you want to take great photos each time. ISO relates to the sensitivity of your camera’s sensor. It usually begins at 100 and will double to your camera’s limits: 200, 400, 800, 1600, 3200 and so on. There are 1/3 stops in between.
Some photographers even have fears about increasing their ISO too much. Instead of living with this fear, learn how ISO really affects your pictures.
Lower ISO = Better Images… in Some Cases
It’s a widespread belief that a lower ISO will result in better pictures that are more appealing to your viewers because they’re sharper and clearer. This is true for the most part, but there are very significant exceptions that apply, which you have to understand to get the best shots in all photographic conditions.
In general, a lower ISO will always produce better images in these situations:
- Controlled lighting conditions in a studio
- When using a tripod
- With a lot of natural light
- With a constant aperture and shutter speed
However, consider other situations when these four elements aren’t in play. Then, a lower ISO won’t give you better photographs. That’s a fact. Actually, when you pump up your ISO in other situations, you’re going to get much better results than with a lower ISO.
When to Use a Higher ISO
The key here is knowing when to use a lower or higher ISO. It’s a mistake to assume that a higher ISO should be avoided. It can be instrumental in getting a great shot in the right conditions. That’s because increasing your ISO means you can raise your shutter speed and use a smaller aperture (actually increasing your aperture number). Together, these two settings done right are more instrumental to a technically awesome photograph that looks impressive than a low ISO.
For instance, have you ever looked at event photographs—concerts, award shows, banquets, receptions, anything indoor, etc… and admired how bright and attractive those images turn out to be? It’s more than just having top-notch equipment like lenses and flashes. It’s because they’re really turning up the ISO to high levels in order to capture all of the natural light in the scene.
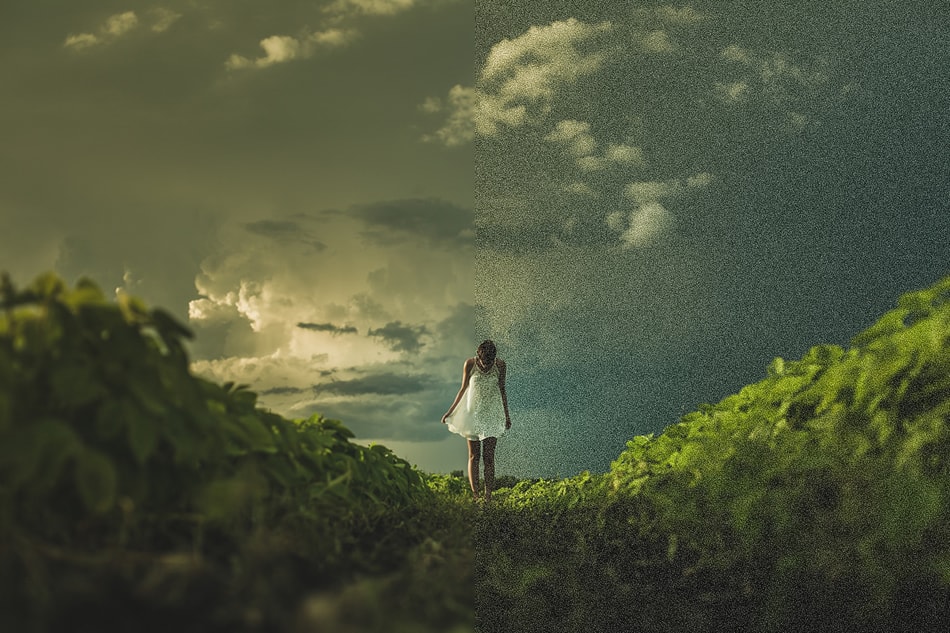
Noise exaggerated to illustrate ISO noise.
Consider also the advancement of camera technology in the last, few years. The increased graininess of pictures that feature a higher ISO is not as stark and intense as it used to be with older cameras. Newer cameras have turned down the intensity of the graininess of images at a higher ISO, and they’ve also made that graininess less displeasing to the eye. A great example is the Sony A7s – its low-light and high ISO performance is astonishing!
That’s why event photography and low-light conditions – such as night photography for outdoor concerts and nighttime carnivals – are excellent opportunities to now harness the effectiveness of a higher ISO to produce amazing images.
Exposure and ISO
Since exposure is another of the key players in how a picture turns out, it only stands to reason that you’ll have to harmonize your exposure with your ISO. One of the biggest dilemmas that photographers can face is what they do in postproduction. You’ll destroy the look of the grain in your images when you – and you’ll have to – increase the exposure in postproduction. The key is taking care not to raise the exposure too excessively.
Therefore, raise the exposure only a moderate amount in postproduction, but the higher you’ve increased the ISO, the more important it is to be very watchful during postproduction.
Different ISO Ranges for Different Scenes
It’s necessary to ensure you’re working within the correct range of ISO for the specific scene you’re shooting. As we’ve explained, ISO can work well if it’s lower or higher, all depending on the specific situation and context of your photography.
-
100 to 200
ISO at these settings is perfect for daytime shooting because the abundance of natural light ensures you don’t need to mess with the ISO at all. If you up the ISO any higher, keep in mind that very noticeable grain will begin appearing in your shots, which is very avoidable when you have this much natural light to work with in the first place.
-
200 to 400
Slightly raise your ISO if you want to get stellar pictures in conditions that are a bit darker. These will include instances like indoor shooting in brightly lit rooms and outdoor shots in the shade.
-
400 to 800
This range is ideal when you have to shoot indoors with a flash. This helps to create a more balanced exposure that also features a more detailed background.
-
800 to 1600
Event photographers already know that they have to work within this range because of the nature of their job. Live events like concerts, sports games and shows routinely take place in low-light conditions where a flash isn’t permitted.
-
1600 to 3200
This more extreme range is also good for event photographers shooting live shows. It’s also ideal for very low-light situations where having a tripod isn’t an option. Essentially, this range is the highest you can go before the grain or noise becomes too unpleasant.
-
More than 3200
If you have to set your ISO to this extreme level, then it’s likely because you have exceptionally low-light conditions, or you’re just going for a really artistic look in your shots. In either case, you’re going to have a grainy result (which is not necessarily a bad thing!)
Using ISO Wisely
Knowing how to set your ISO and for what conditions is the difference between a picture that’s great-looking and one that has exposure problems. Depending on how you use your ISO, you can give yourself a whole lot of freedom in photography since you have the ability to put yourself into so many different shoots.
There are situations when a low ISO is called for and other instances when a high ISO is the way to go. The trick is being able to identify them and set your ISO accordingly. When you do, you’ll turn out splendid shots each time.
About the Author: Marc Schenker
 Marc is a copywriter and content marketer who covered photography. These days, he runs The Glorious Company, a content marketing agency.