Smarter Sharpening with Lightroom Classic
 by
Adam Welch
by
Adam Welch

What do we mean when we talk about “sharpening” a photo? Yes, we all have an idea of what a sharp image looks like as opposed to an unsharp one. The truth is, you can never actually sharpen a photograph.
Once it is made, the actual physical sharpness remains the same. The only thing that we, as photographers, can do is to perform a little post production illusion and give our photographs the appearance of being sharper than they might have been originally.
There are many ways to sharpen-up our work. It can actually be done in the darkroom (which is the basis of digital sharpening tools like Unsharp Mask) by making physical negative/positive contact films and processed in such a way that achieves a sharpening effect in the finished print.
But for most of us who work in digital photography, most of our sharpening is accomplished in post-processing. Today, you’re going to learn not just how to sharpen an image… no no. Instead, you’re going to learn how to sharpen using a lesser known tool in Adobe Lightroom Classic called the Sharpening Mask.
Think of it as the “smarter” way to sharpen.
Why Use the Sharpening Mask?
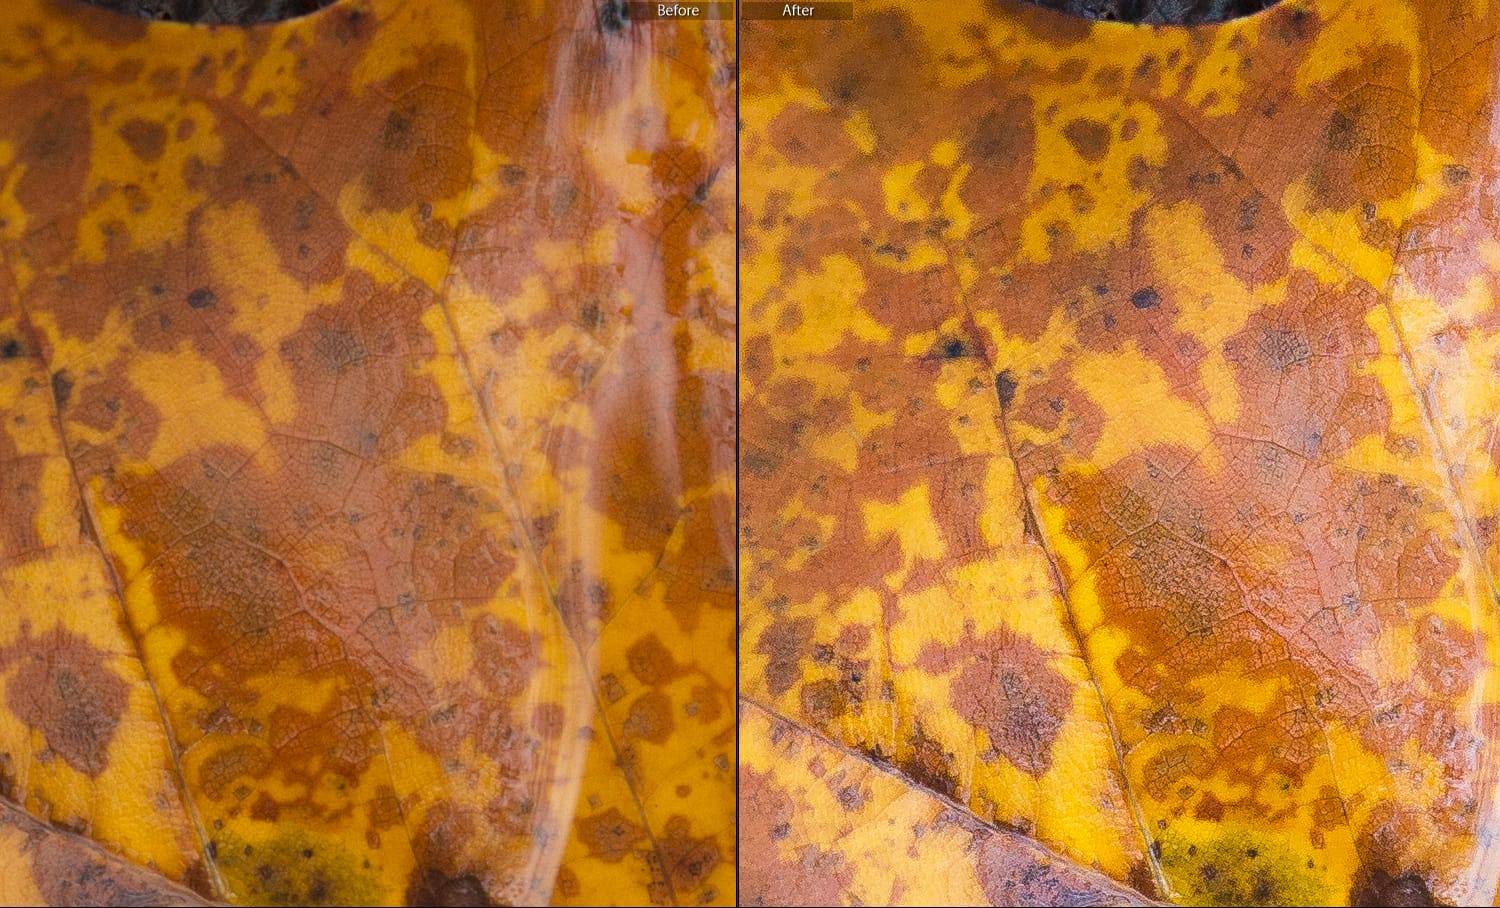
When it comes to digital imaging and sharpening, the long-standing problem is that sharpening a photo in post-production inherently amplifies the digital noise present within the image. So really, attempting to improve the sharpness of our photos can actually make them less appealing if we push the sharpening a little too far.
Note the “worms”.
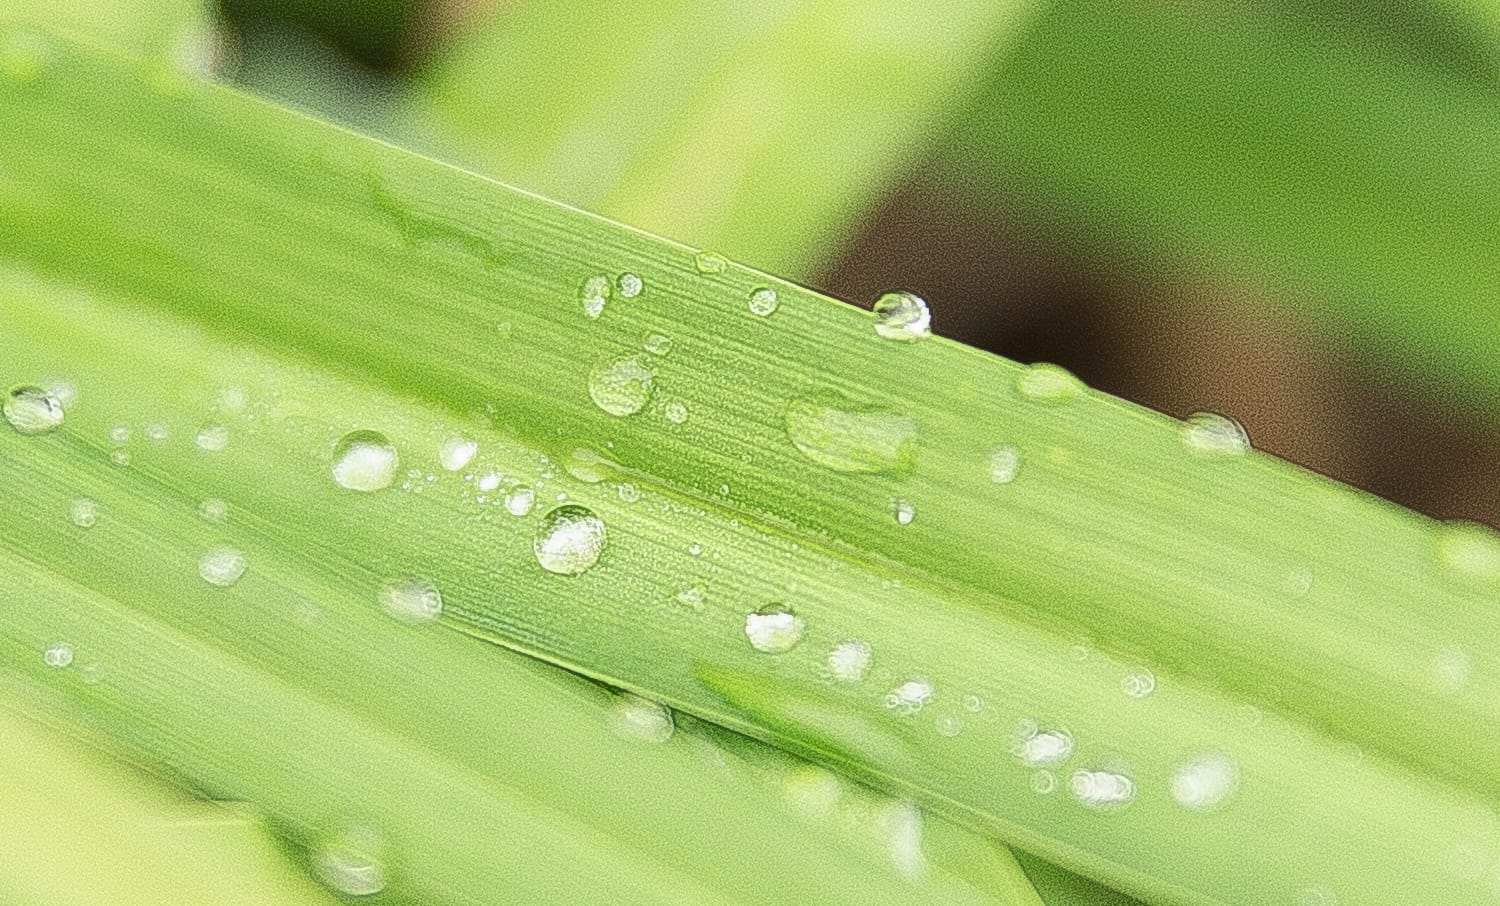
Furthermore, for the majority of photographs, we genuinely don’t need to sharpen the entire image. Most of our work only needs sharpening in areas which stand out to the viewer. This means that elements of landscape photographs such as rocks and trees or mountains might need a little sharpening but the sky or darkly shadowed areas wouldn’t actually benefit from the increased detail. To sharpen areas which need sharpening and to exclude those that don’t is easily accomplished by using the sharpening mask.
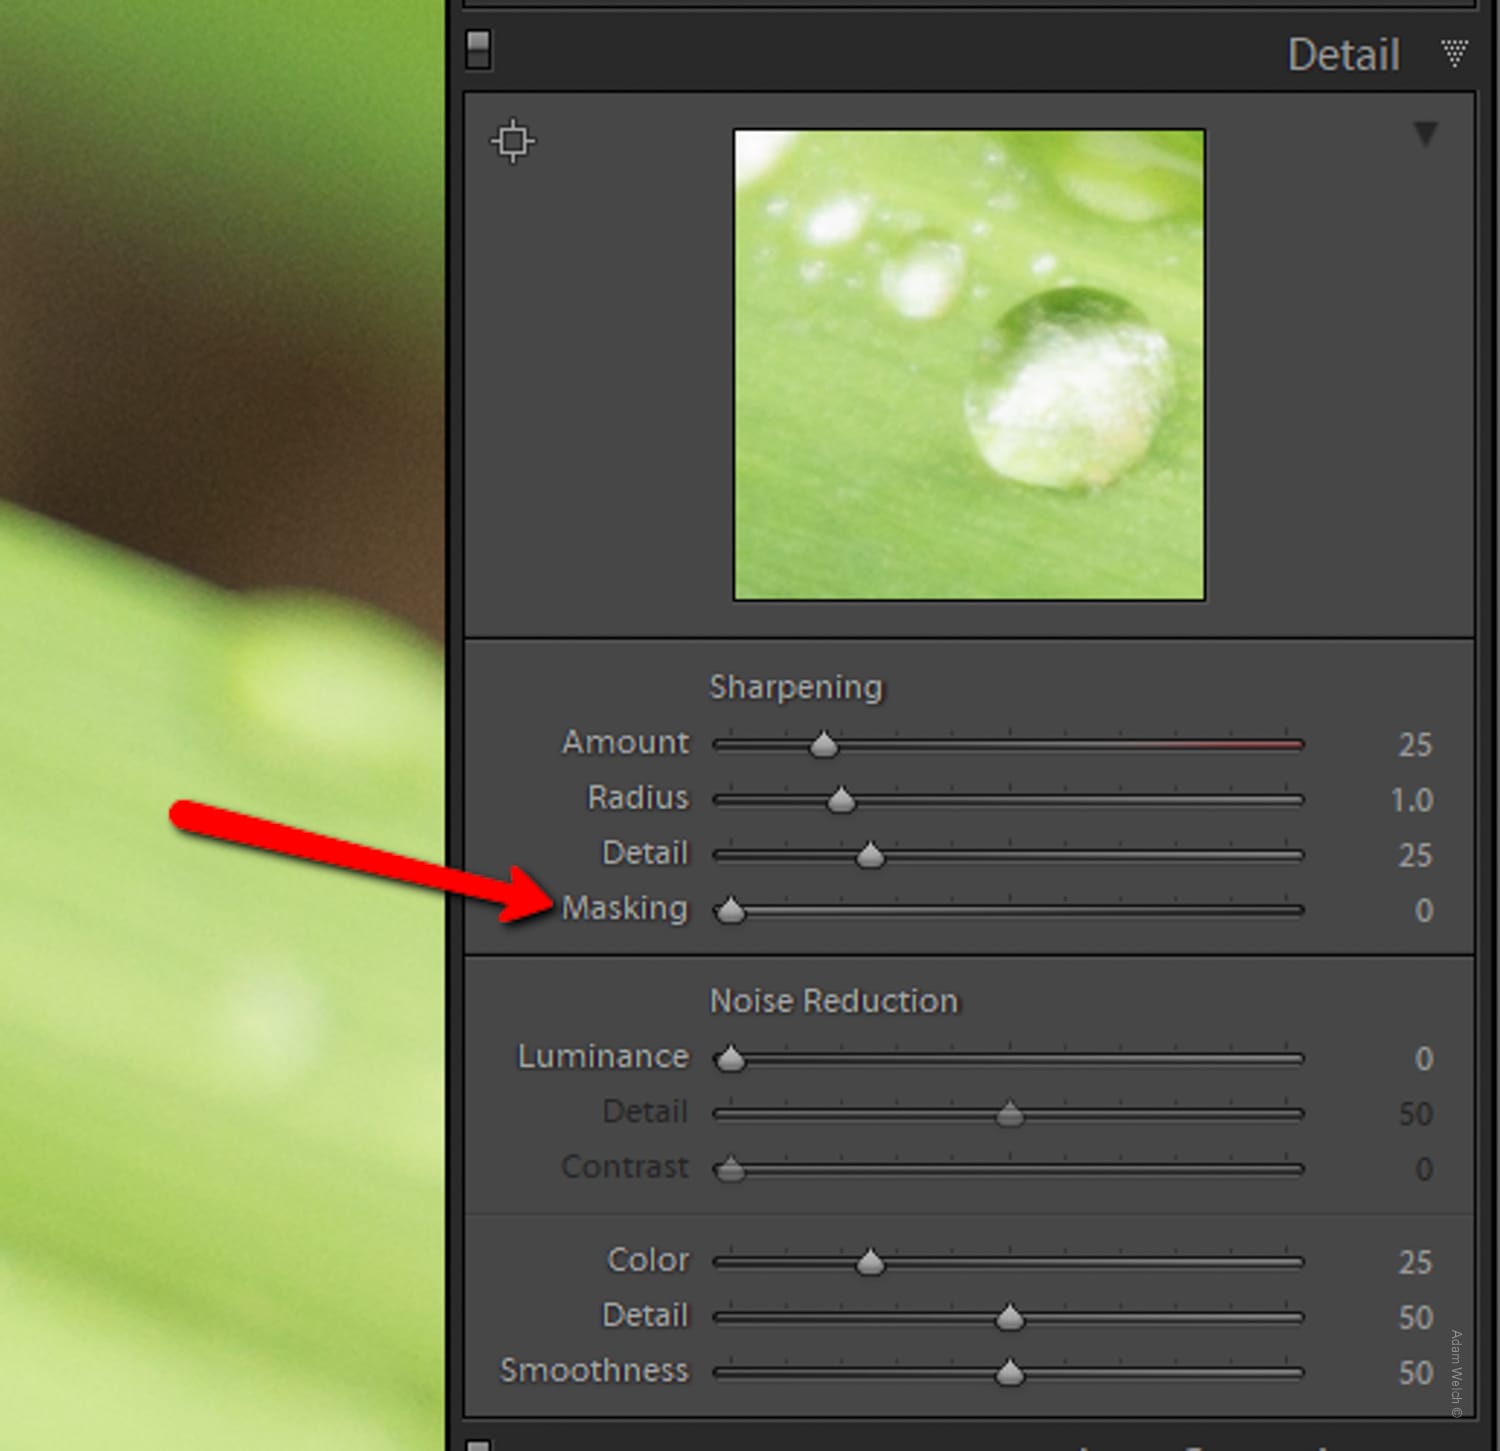
The sharpening mask is located in the Detail Panel in Lightroom Classic, and it allows us to apply our sharpening only to the section of the photo which need it, thereby avoiding the introduction of additional quality-killing digital noise.
How to Use the Sharpening Mask
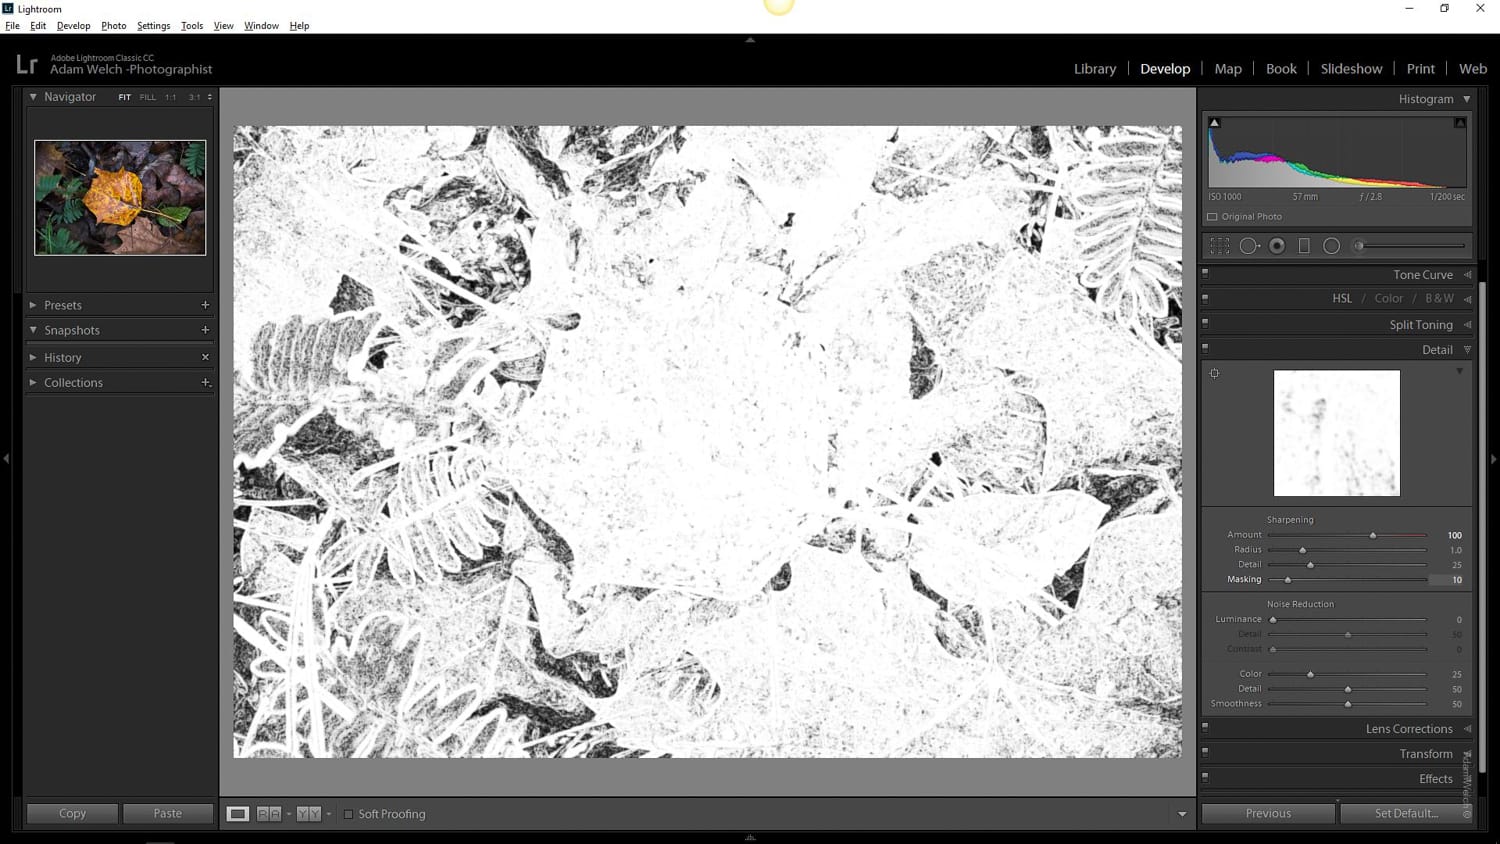
The sharpening mask is extremely effective and equally easy to use. To engage the sharpening mask, first hold down the ‘Alt’ key (‘Option’ key for Mac) while at the same time adjusting the masking slider. You’ll notice something very strange happens to your image…
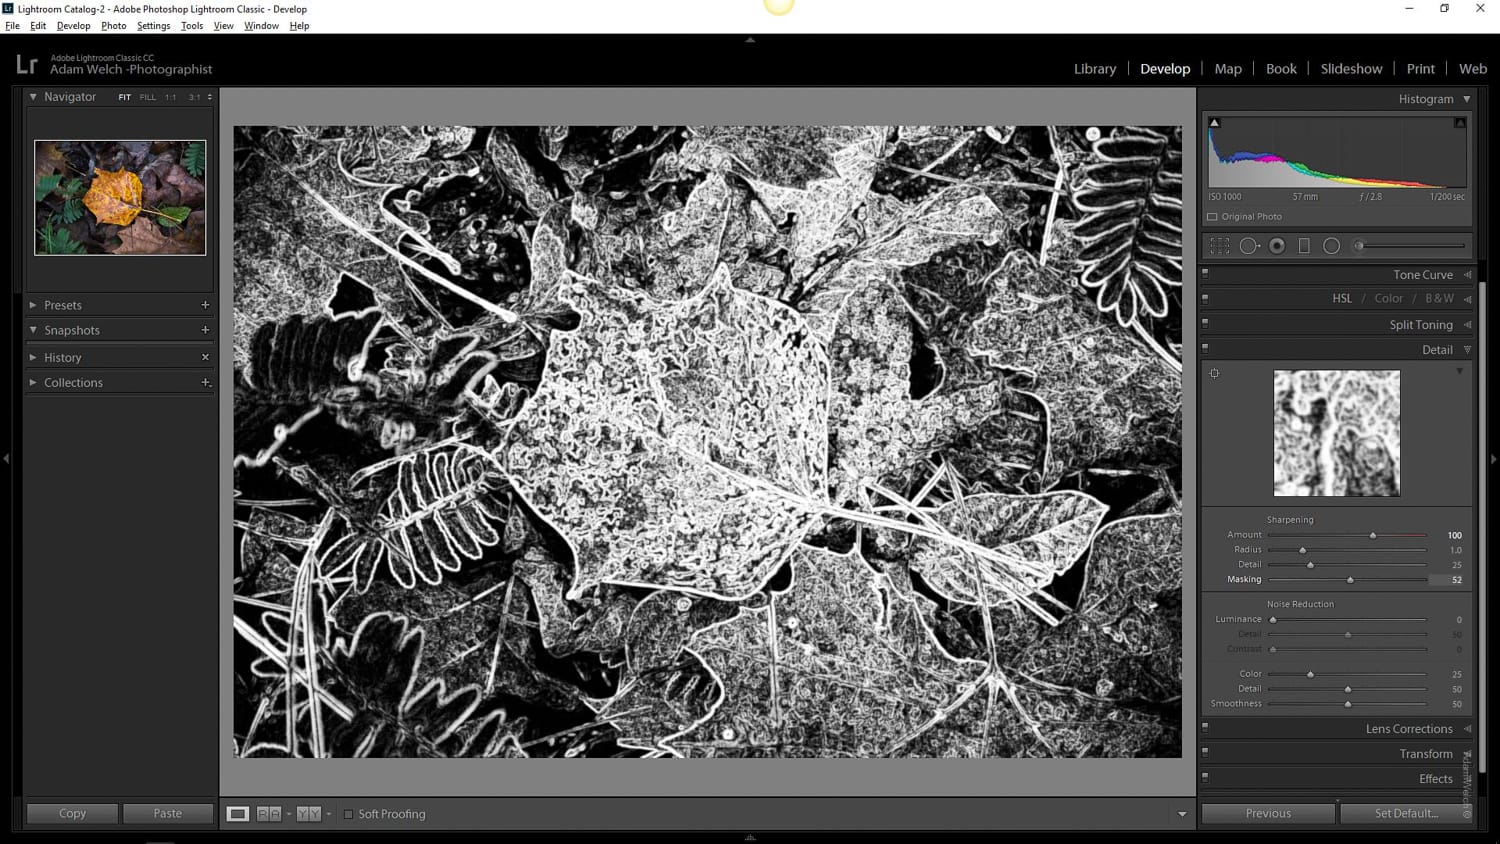
The image will immediately be converted to a temporary black and white outline that resembles a charcoal drawing. This is your mask. The long standing digital editors rule of “black conceals, white reveals” applies to how the mask works. Any areas in black will be excluded from the sharpening and the portions in white will be where the sharpening will be applied.
Moving the masking slider to left (still holding the ‘Alt’ key) will cause the sharpening to be applied to more of the image…
…while moving it to the right (still holding the ‘Alt’ key) will shield more of the image from the sharpening and focus more and more on the edge detail within the image.

This means that those areas in black which lack more visibly defined edges will remain free of sharpening. The white areas are the only regions where the sharpening will be applied. This way, less noise will be added to the image resulting in a cleaner and more pleasing final result.
Some Final Thoughts on Sharpening
It’s been said before, and I tend to agree, that less is often times more when it comes to post-processing a digital photograph. This is especially true when it comes to sharpening. It’s not that sharpening itself is to blame but rather the side effects brought about by over-sharpening which can harm the quality of our images.
Too much “blanket” sharpening can cause unneeded noise image, edge halos, and a mottled “wormy” appearance that can break an otherwise solid photo. Using the sharpening mask can help you avoid these types of situations by only applying your sharpening where it’s needed. Not only is the masking slider a carryover from the darkroom days, but it is a powerful tool that you can easily use to sharpen your image more appropriately and give your work a more genuine and, dare I say, more professional look.
Bonus Sharpening Tip: Use the ‘Radius’ slider to adjust the amount of sharpening around the edges of objects in your image. The radius controls how far the sharpening bleeds into surrounding pixels. This can help avoid/reduce the dreaded halo effect mentioned earlier.
For even more hands-on training, tips, and tricks, make sure you get your copy of the Lightroom Mastery guide.
About the Author: Adam Welch
Adam is an author, adventurer, photographer and a jolly co-founder of Contrastly. You can usually find him on some distant trail making photographs, in his darkroom or at his computer writing and planning his next project. Follow his work over at his
website , Facebook, Instagram and YouTube .